|
For the last couple of weeks, we have been learning about UI and UX or User Interface and User Experience. While we have focused mainly on UI but we have also talked some about UX. Both of these are very important but also commonly perceived as the same thing. UX is the user experience and it is how the player gets information and what they do with the information. In the design process, a UX designer will go through and basically layout where each element will fall. This could be deciding what the HUD layout will be or where the informational text will fall. After this comes the UI designer. UI is how everything looks and how the player is able to see and interact with the elements. After a UX designer makes his concepts, the UI designer is able to start actually designing what the art style is and how it will be reflected in the menus and HUD. A lot goes into this design process. The UI designer needs to be consistent with their art style which is supported by the UX designer having a consistent layout. The UI is very important in every game. Having a common theme and a correct layout makes the gameplay smooth and informative. This allows the player to get the best experience from the game. UI can be as simple as a coin counter but it serves almost no purpose if it is not in the right place or doesn't flow with the rest of the game. The menu system is usually something where people confuse UI and UX. While they both contribute to the menus, it is the UX designer that chooses where each button goes and what the flow is. After, the UI designer is able to change the font as well as how smaller text is laid out. Overall, both UI and UX are very important for every game and can make the gameplay feel smooth and interesting if done correctly.
Summary
0 Comments
As I mentioned in my previous blog post, I have been trying to improve my skills in Photoshop or in the free version Pixlr. This time I decided to incorporate one of my favorite things into my artwork. To improve my skills I chose to learn how to create text art in Pixlr which is slightly similar to what I did in my last post. I have always found using words in images to be very creative and also interesting as they can bring spotlight to other elements in the piece that are not usually highlighted. To improve my skills, I first followed a video tutorial on creating text art using a guitar and words associated with music. I found this to be very informative while also simple in design. The main preface is using masks to cover parts of images and using the magic wand to help add the text into the spaces. After following the tutorial, I chose to do something more advanced which included not just an outline but other lines inside the picture that I had to figure out how to mask and replace correctly. For this I chose to do a image of the Philadelphia Eagles Logo with the starting offensive players of the team as the words. I found that it worked very well as it is something that interests me while also being more intricate than the guitar in the tutorial. The main struggle I had in creating this piece was figuring out how I wanted to mask the logo in order to make the words stand out while also making it identifiable as the logo for the team. To finish off the piece, I added a gradient as the background in order to give it more depth which I found added a lot to the piece as a whole. Here is the final product: 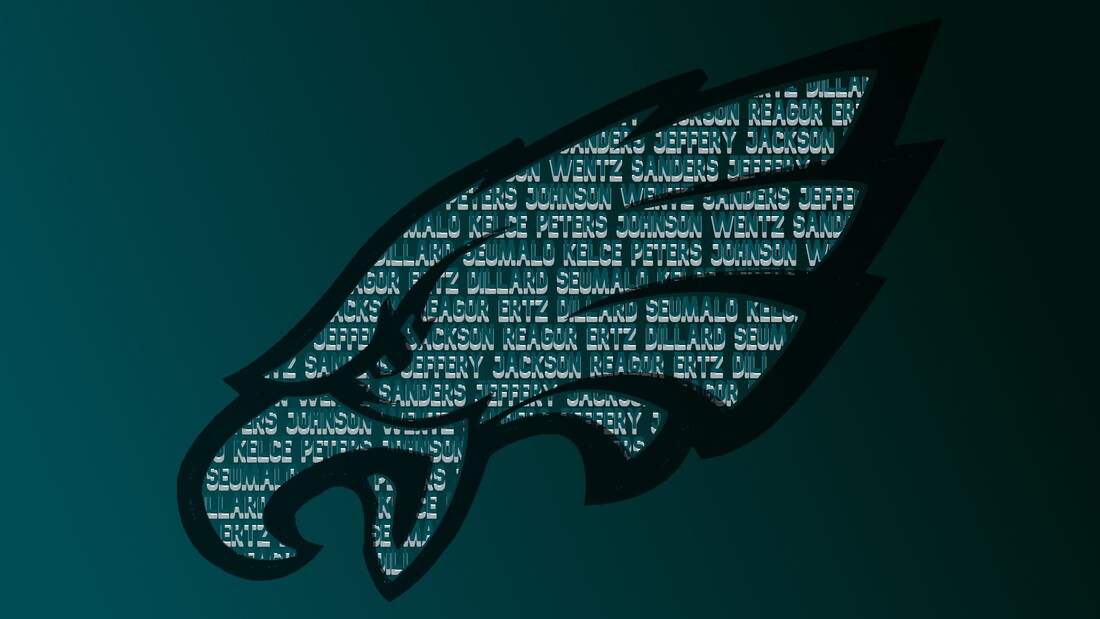 As you can see in the image, there are many details in the logo which is where I ran into the most trouble. Overall, I found Pixlr to be once again, a great substitute for Photoshop as well as having its own features that make it easier to use.
Summarry
Kipfer, Kyle "Create Text Art in Pixlr E" YouTube, 17 Apr. 2020, https://www.youtube.com/watch?v=2XeJaGlwehQ. Since the summer began I decided I wanted to improve my skills with Photoshop and other programs like it. While I do not own Photoshop, I was able to use the free program Pixlr which happens to have many of the same functions of Photoshop. The first thing I decided to learn and the focus of this blog post was how to use images and words in different ways and combining them. I started doing trying to fill words with images to make cool banners and other artistic pieces. I found this both very interesting and I found many ways that I could use this to help others around me. The first piece I made was one in which I took a photo from my friends music video and put it into his artist name. This came out really well and he is now able to use it as a banner or anything else he wants. The biggest struggle I had was transitioning from how to do something like this in Photoshop to Pixlr. Even with the help of a step by step on Photoshop I still found it quite difficult to transition with the new interface and different capabilities. 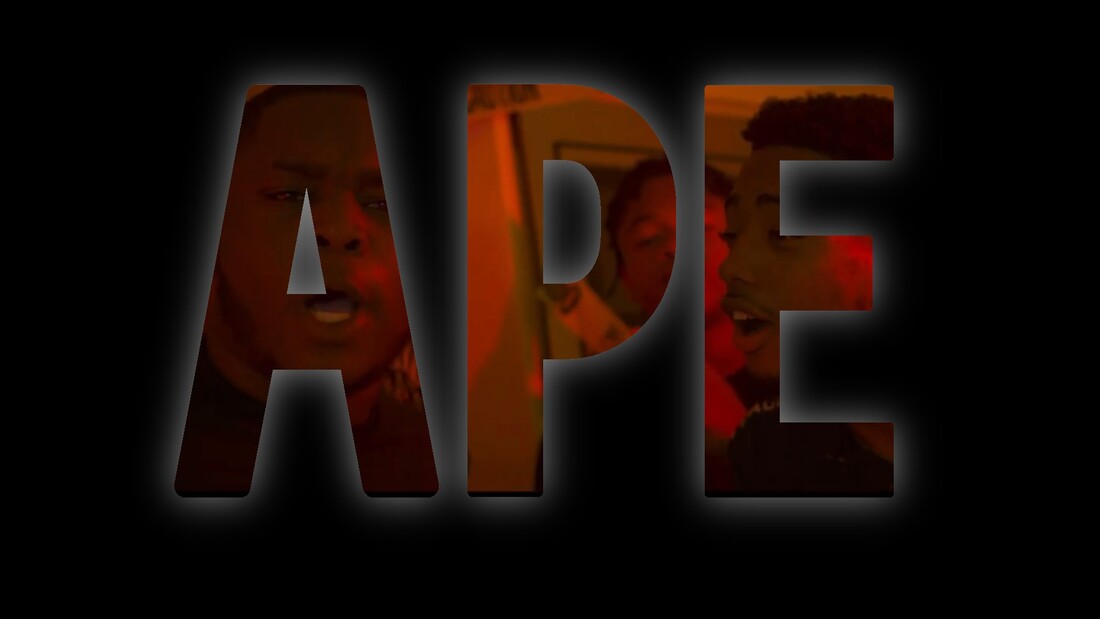 After doing this, I decided to challenge myself more by using multiple pictures and trying to learn new effects. My next project was one I made for my friend of his dog. Instead of using one picture for the whole name, I used a different picture for each letter of the name. This helped show me how careful I have to be when editing the pictures around the letters as I found myself going back and having to fix the pictures over and over again. After I was done however, I found that this picture came out very well and I was very proud of myself for accomplishing it. 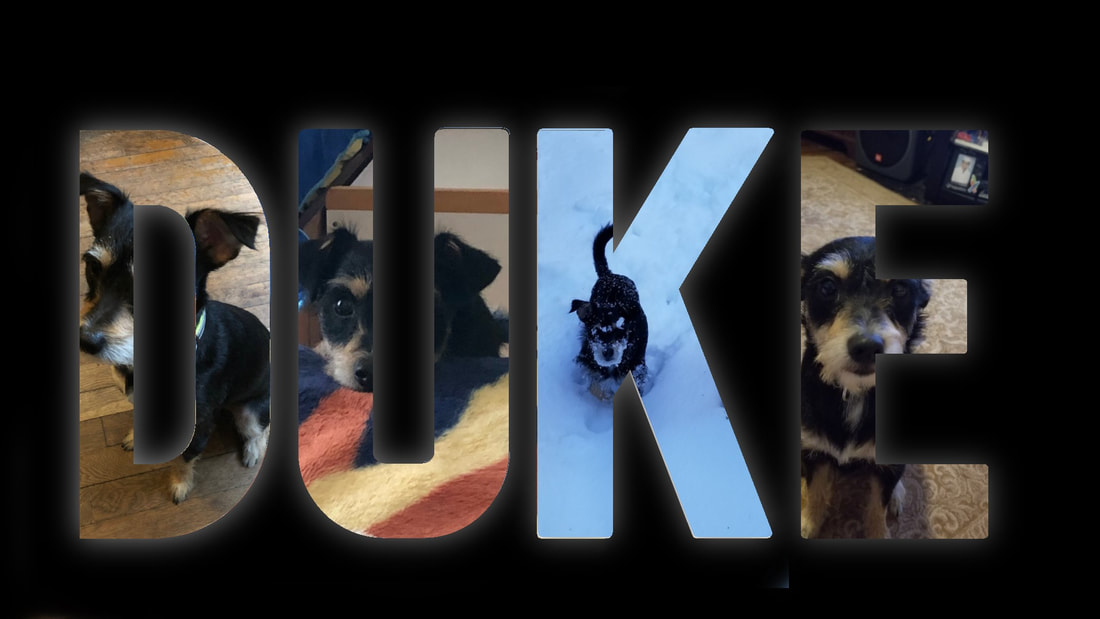 Through this process I not only learned how to make these kinds of images, I also learned how to navigate and edit in Pixlr which took some time to get used too. As well as learning new things about Pixlr, it really helped me to get used to Photoshop like programs again which will be very useful for projects later this summer and continuing on through the year. I am proud of myself because at the beginning of working on these projects it took me at least an hour just to get the first one right, and now I am able to do these very quickly. This will allow me to help my friends and family with edits like these and others that use the same skills. Overall this expanded my knowledge of the program and helped me learn a new technique that will help me in the future.
Summary
In the past couple weeks, we have been learning a lot more about the production process and we have started and now finished our own games. I have found this to be very interesting because I never realized how difficult it could be to create your own game. The game we were creating was called Magnet Attack. The whole premise of the game was that you have to launch magnets and land them in a pattern that matches the card you get. While this might seem like a pretty simple thing to make, we had a lot of struggles. The first problem we had was that we were making the game board using a 3D printer and midway through printing our board, the 3D printer broke and we could no longer use it. Because of this we only had 2-3 days to come up with a new idea for our board. We eventually solved this problem but the end product did not turn out exactly how we wanted it too. Along with creating our games, we had other classes play test them which was a very interesting and new experience. After they were done play testing, the feedback they gave was very helpful and we know what we need to change to make the game better as a whole. The act of play testing was very helpful because it allowed me to see that people actually liked our game and it gave a great insight into what needed to be changed for the better. Even though our game was not perfect, and I did not expect it to be, I was very proud of what we created and I thought my team members and I worked very well together which is the reason we were able to battle through the problems we had in the production process.
Since the start of the second quarter of the year in class, we have been working on a lot of pre-production and concept sketches in class. While pre-production is my least favorite step of the game design process, I know that it is vitally necessary. Pre-production is my least favorite because I am not a very strong drawer and I feel my talent could be better used programming or helping during production. While I despise pre-production, the past weeks have not been too bad and I have actually been enjoying doing concept art are the start of pre-production. I find that while I am terrible at drawing characters, I am fairly decent at drawing weapons and I find myself drawing these things during other classes after I finish a test for example. Drawing to me is something that I do not really like doing in my free time but if I am confined to do something during school, I like to doodle and drawing random things to pass the time. Unfortunately, the game me and my team are currently designing has no weapons. Even so I am having a good time because I only have to draw inanimate objects which do not have facial expressions. Like I said before, I would much rather be doing an activity like programming but if I have to do pre production the assignments have not been that bad. The one thing that I wish would happen is that since we are doing so much drawing for the assignments, I wish we could stop doing the other drawings that we have to do because I feel like that is the only thing we have been doing in class and I feel I need a change in pace. Overall the concept art we have had to do has been fairly enjoyable and I hope it can always be like this in the future.
Summary
This week we were tasked with finding a professional modeler working in 3DS max and seeing how we can improve and grow more towards their style and level of design. I was looking around on different websites to find professionals. I was looking on ArtStation and I found a professional with the name Yekaterina Bourykina. She primarily focuses on character modeling and skin designing for different characters in games like League of Legends. She also works at Riot Games as a 3D Character Artist.  This is a re skin for a character in League of Legends named Thresh. She titled this piece high noon thresh copying the name of a different skin for a different character. She primarily focuses on character modeling which we haven't done much of in class and I don't know much about. Modeling people is not really my strong suit but I still attempted to make a character.  My Character isn't the best but that's something that I definitely need to improve on as we keep 3D modeling. I am going to try to get to be able to 3D model as well as she can and hopefully be good enough to work in the industry one day. Overall character modeling is what I want to strive towards and hopefully as I keep improving in this class I hope to get better at character modeling and one day be able to get to this level.
Summary
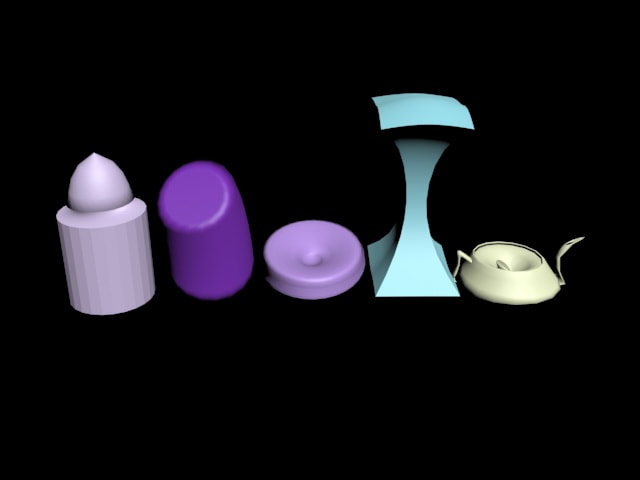
References “High Noon Thresh, Yekaterina Bourykina.” ArtStation, www.artstation.com/artwork/Ka6XmR. “Yekaterina Bourykina.” ArtStation, www.artstation.com/ybourykina. During the 1st quarter of class this year we have learned a lot about compound objects. One of the first compound objects we learned about was Boolean. Boolean can be very helpful in a lot of ways when you are trying to merge two objects together or subtract one object from another. The way you do this is add a parameter to two or more operands (basically just any primitives). Some of these include union(which merges both objects together), subtract (which removes the second object and its overlap with the first object), and intersect(which leaves only the intersecting parts). This can be very helpful because it allows all the primitives to be moved as one and all be connected, allowing them to all have the same modifiers. To use Boolean, you must first go to the compound objects drop-down and select Boolean. Then after that select which parameters you want and then chose add operands after you have one object selected. After this just choose the second option and the parameter you chose should be applied to both. Overall Boolean is very simple to use and it makes everything a lot easier to use.
Summary
So as the final quarter of the year comes to an end I have realized how much we have learned in class. Not including all the notes and information we have gained knowledge of, we have learned how to use four different programs all with their own tools and uses. I think my favorite program has to be 3ds Max because I really enjoy how you can basically create anything you want. Some of the tools in 3ds Max are super easy to use while others I really wish I knew how to master. 3ds Max is very simple in the fundamentals but once you learn how to do many other things it gets really complex. I am looking forward to next year because I know our primary focus will be on 3ds Max. Overall I wish that we could have spent more time in 3ds Max this year but I know next year will be great.
Summary:
We have been working in 3DS Max for a couple of weeks now and it is getting really interesting. We have just started to learn how to animate models, which allows for all sorts of things. The basics of animation in 3DS Max are pretty simple, it is mainly using the auto key button which marks a movement and changes the object through multiple frames. This makes it really easy because if you just need one movement you can set a key at the end and change the object to where you want it to end, and it will automatically go through the whole process in between. The second thing that is really helpful, is the timeslider. The timeslider goes frame by frame allowing you to edit where the model is, with the help of the auto key. I think the most important thing is to always turn auto key off when you are done with your animation because it can severely mess up your animation and objects. Overall from what I have learned about animation it is pretty simple, but, there is always more to learn.
Links: knowledge.autodesk.com/support/3ds-max/learn-explore/caas/CloudHelp/cloudhelp/2017/ENU/3DSMax/files/GUID-AAAA5C89-3711-4EDD-99FB-52B9AFD1EBC2-htm.html Summary:
|
AuthorHi, my name is Nick Bayer and I will be posting blogs about every 1-2 weeks in the 2020-21 school year. I am doing this for my Advanced Game Design class at Durham School of the Arts(DSA). The views and opinions expressed in this blog are solely those of the author and do not represent those of Durham School of the Arts or Durham Public Schools. Categories
All
Archives
May 2021
|
 RSS Feed
